

Things I Learned #4: Pane Management in Windows Terminal
If you haven't caught on yet, I enjoy spending time at the command line. We've come a long way from the old DOS prompt though. On my Mac, I use iTerm2, but on Windows, I've fallen in love with the Windows Terminal. With each release, it just gets better and better.
There are times I want to start another instance of the shell I'm in (on Windows it's normally Powershell with Oh-My-Posh, but it could be Ubuntu in WSL), but it's related to the current instance. What I tend to do is either open a new tab or maybe another instance of Windows Terminal if I need to see the two side-by-side. While it works, there is a better way!
TIL
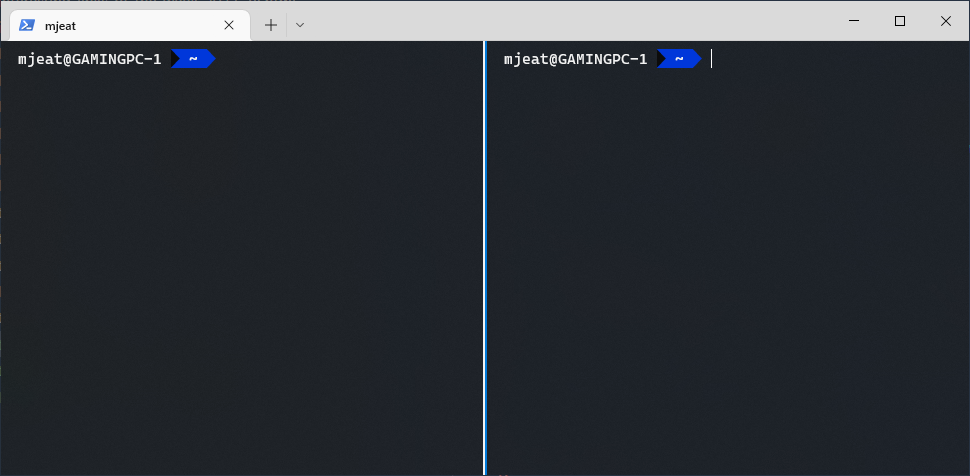
I learned that you can simply split your current terminal into panes, both horizontal and vertical. How? The default shortcut is
alt shift +to give you a vertical split, or
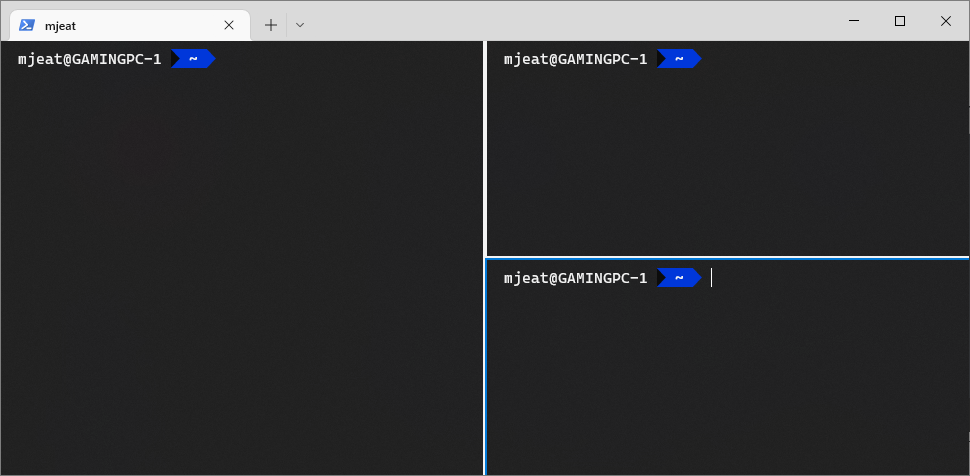
alt shift -to give you a horizontal split.
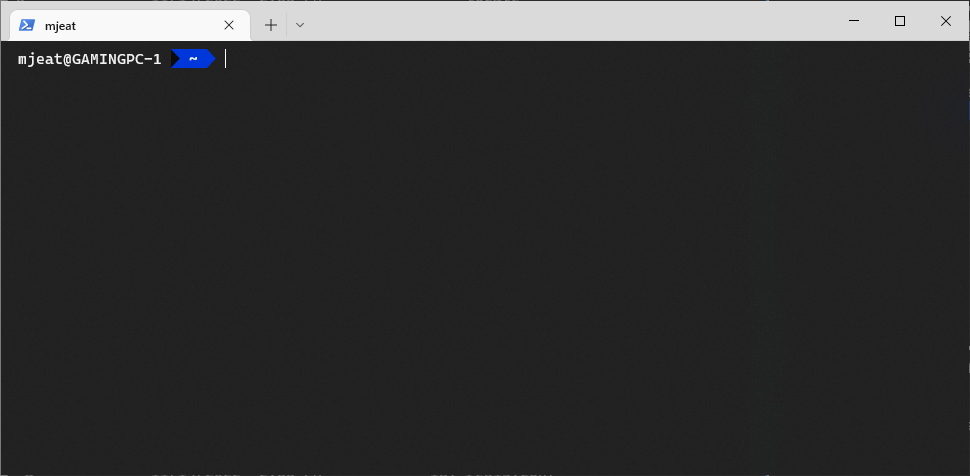
Starting with a basic Terminal window
You can resize panes pretty easily using
alt shift (left, right, up, down arrows)
To navigate between panes, simply hold the alt key down and use your arrow keys.


Comments